
How to Make Dehydrated Backpacking Meals (Beginner Guide)
September 08/2026
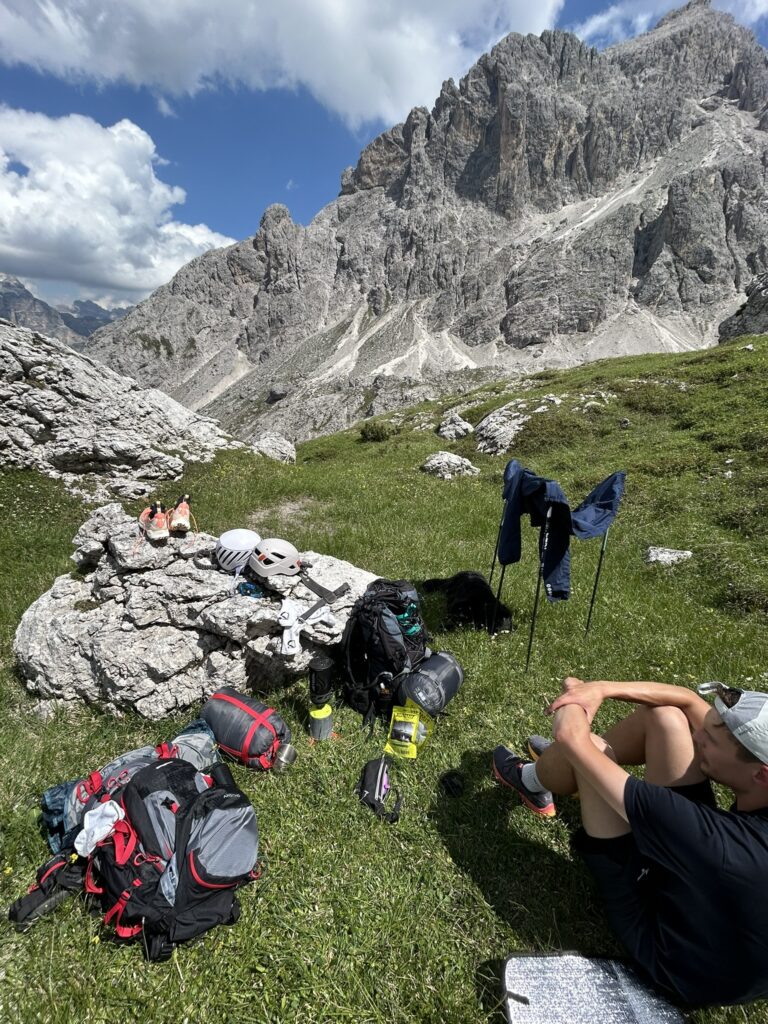
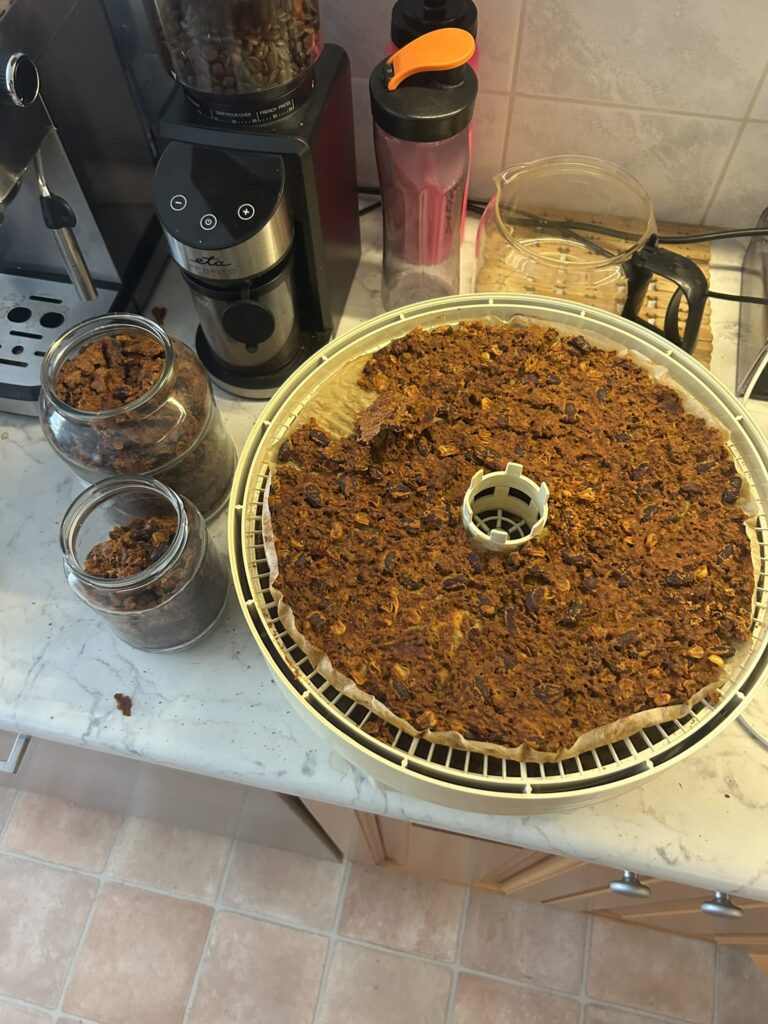
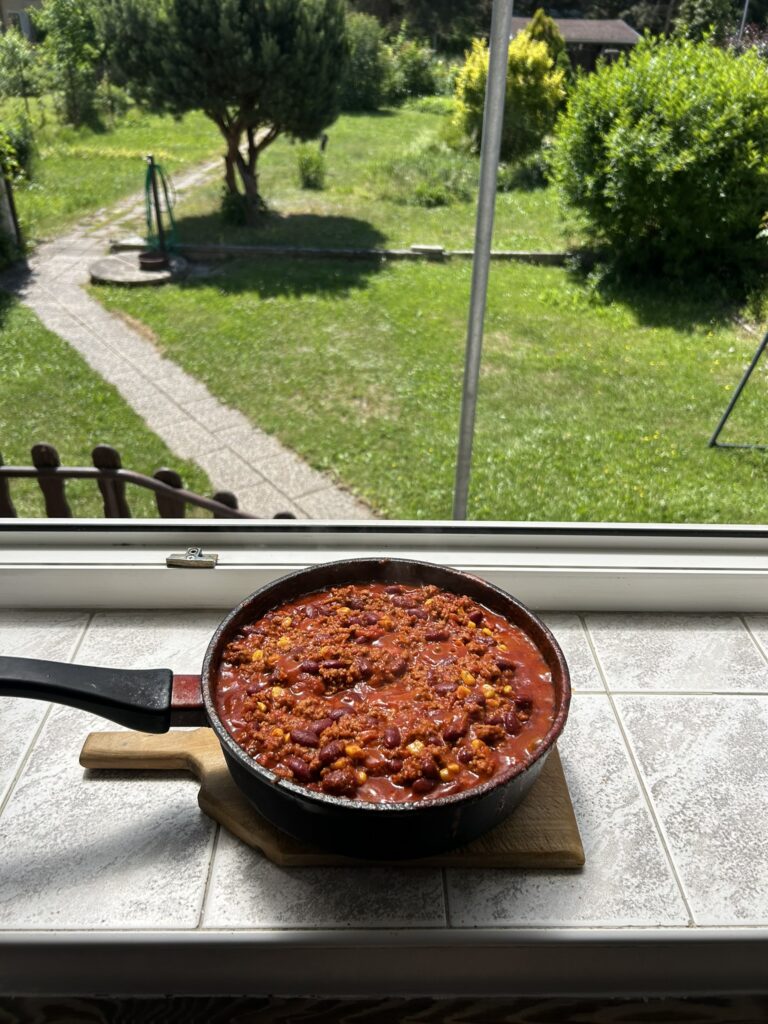
The first time I dehydrated my own backpacking meals, I didn’t have a fancy dehydrator with digital timers and temperature presets. I used an old fruit dehydrator that had spent years drying plums, plus my regular kitchen oven as backup. I made ground beef chili con carne and a lentil dhal (also with ground meat stirred in), dried a batch of rice on the side, and packed it all for the trail.
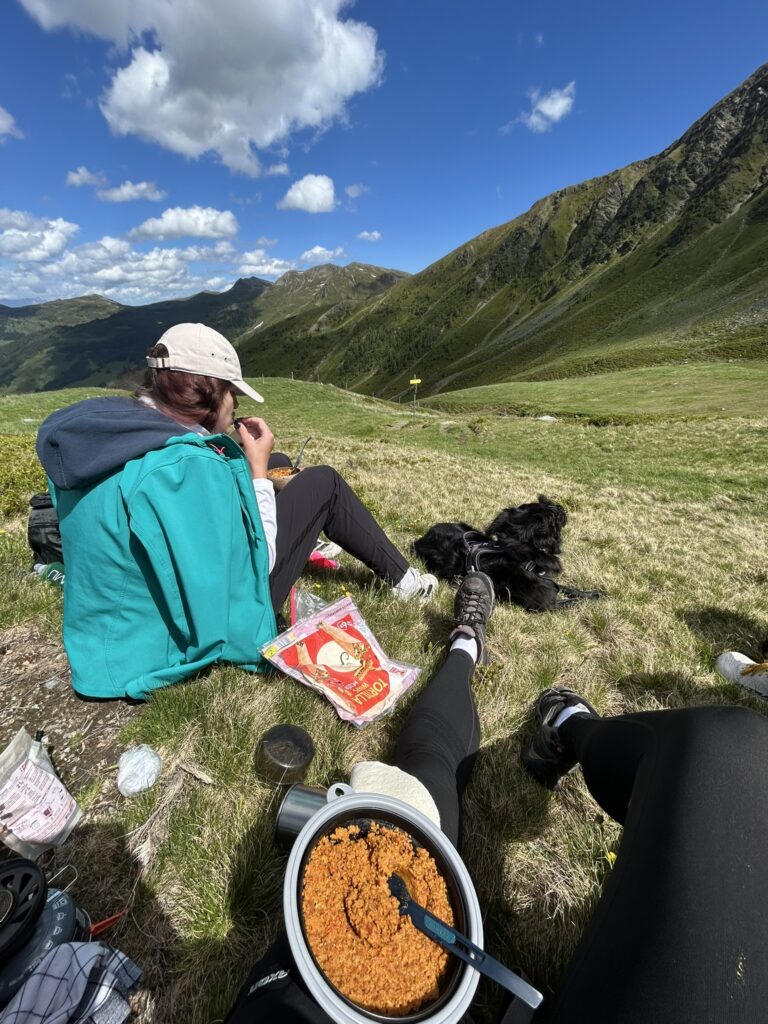
When I finally poured boiling water over dinner at camp, it was ready to eat in under 15 minutes, and it tasted like home cooking.
That’s really the whole appeal of homemade dehydrated backpacking meals: real food, made from what you already cook and eat, at a fraction of the price of store-bought package, packed exactly the way you like it.
This guide covers everything you need to get started, from equipment and technique to the trial-and-error lessons from my own first batch.
Why Make Your Own Dehydrated Backpacking Meals?
- Cost: A batch of homemade chili costs a few euros in ingredients and makes several trail meals; a single commercial freeze-dried pouch often costs more than that alone.
- Taste and control: You choose the spice level, the protein, the texture, no mystery ingredients or reconstituted “flavor packets.”
- Less packaging waste: Reusable containers or resealable bags replace a stack of single-use store-bought package.
- Flexibility: Once you know the basics, almost any home-cooked meal you already love can become trail food.
What You'll Need
You don’t need an expensive dedicated dehydrator to get started; I proved that to myself on my first attempt.
Option 1: A food dehydrator. Any model with trays works, even an older or secondhand one. If it came with mesh sheets only, use parchment paper, you’ll need them for anything wet or pureed, like chili or dhal, so it doesn’t drip through.
Option 2: Your oven. Set it to its lowest temperature (many ovens go down to around 60–70 °C / 140–160 °F). It’s slower and less precise than a dehydrator, but it works, I used mine for a full batch with good results.
Storage:
- Resealable freezer bags or vacuum-seal bags for the trail
- An airtight container or jar for meals waiting to be packed
How Food Dehydration Actually Works
Dehydrating removes water from food until bacteria, yeast, and mold can no longer grow, generally down to around 10–20% moisture content. Three things drive the process:
- Heat, which evaporates the water in the food
- Airflow, which carries that moisture away
- Surface area, which is why food is cut small or spread thin
Different foods dry best at different temperatures:
|
Food type |
Temperature |
|
Fruits |
57–60°C (135–140°F) |
|
Vegetables |
52–57°C (125–135°F) |
|
Cooked grains & legumes |
52–57°C (125–135°F) |
|
Ground meat |
63–71°C (145–160°F) |
If you’re drying a mixed dish like chili – meat, beans, tomatoes, rice – set the dehydrator to the temperature of the most delicate ingredient and expect the drying time to match whatever component is wettest.
Best Foods to Dehydrate for Backpacking
Not every dish dehydrates and rehydrates equally well.
Dehydrates well:
- Rice, quinoa, and other small grains
- Lentils and other legumes – dhal, soups, stews
- Lean ground meat (beef, turkey), cooked and crumbled fine
- Tomato-based sauces and stews
- Finely diced or shredded vegetables
Doesn’t dehydrate well:
- High-fat cuts of meat
- Whole chicken pieces or tofu
- Watery vegetables like cucumber or lettuce
- Large chunks of anything dry unevenly and can spoil before the center dries out
From my own kitchen: both my chili con carne and my lentil dhal used ground meat, and both dried and rehydrated beautifully. The key was browning the meat fully and breaking it into small, dry crumbles before it went on the trays, no big clumps.
Oven or Dehydrator - Which Should You Use?
Most guides assume you already own a dedicated dehydrator, but you genuinely don’t need one to start. My first batch was split between an old dehydrator originally bought for drying plums and my regular oven, and both produced meals that rehydrated in well under 15 minutes.
The trade-offs:
- Dehydrator: consistent low temperature, built-in airflow, frees up your oven — worth it if you plan to dry meals regularly.
- Oven: works fine for occasional batches, no extra equipment cost, but runs hotter than ideal even on its lowest setting, so check food earlier than you’d think.
If you’re not sure you’ll stick with home-dehydrating long-term, start with the oven. You can always upgrade later.
Step-by-Step: How to Dehydrate a Cooked Meal
- Cook the full meal as normal – chili, dhal, rice, whatever you’re making and let it cool completely.
- Spread it thinly on your dehydrator trays (lined with non-stick sheets) or a lined baking sheet. Thin and even beats thick and lumpy every time.
- Dehydrate at the appropriate temperature until the food is dry, brittle, and crumbles easily, this can take anywhere from 6 to 15+ hours depending on the dish’s water content. Mine took 12+ hours.
- Let it cool completely before handling or packaging , warm food trapped in a bag creates condensation.
- Portion into single-meal bags. Weighing portions is more accurate than eyeballing, especially on multi-day trips where calories matter.
How to Rehydrate on the Trail
- Bring water to boil.
- Pour just enough boiling water over the dehydrated meal to cover it.
- Cover the pot and let it sit off the heat.
- Check after about 10 minutes. If there are still dry or crunchy bits, add a splash hotter water and give it a few more minutes.
In my experience, meals like chili and dhal with finely dried ground meat were fully rehydrated in under 15 minutes, no extra simmering needed.
How Long Do Homemade Dehydrated Meals Last?
Properly dried and stored in an airtight bag or container, homemade dehydrated meals typically keep for 6–12 months. For the best taste and texture, it’s worth using them up within about 3 months. Flavor and texture do fade the longer they sit. Keep bags somewhere cool, dry, and out of direct sunlight.
Common Mistakes to Avoid
- Skipping the “cool completely” step before dehydrating or packaging – trapped warmth means trapped moisture.
- Using fatty cuts of meat – they don’t store as well and can turn rancid.
- Piling food on too thick – it dries unevenly and takes far longer.
- Not testing at home first – always rehydrate a trial portion in your kitchen before you’re relying on it 30 km from the trailhead.
Dehydrated Meal Prep Checklist
- Pick a recipe (low-fat, finely diced or ground ingredients)
- Cook the full meal and let it cool completely
- Spread thinly on lined trays or a baking sheet
- Dehydrate at the right temperature until brittle
- Cool fully before packaging
- Weigh and portion into meal-sized bags
- Store in an airtight bag or container
- Test rehydration at home before your trip
Newsletter
Signup for news and special offers!
Thank you!
You have successfully joined our subscriber list.
Contact Us
Passionate about the outdoors? So are we. Reach out to share a route, collaborate, or simply say hi.